
We all love recycling ,right?! If you just screamed "YES I AM ", then this project is just at your alley !
It's nothing new,we all have seen tins been recycled to store new products inside...I ain't going to invent the wheel for sure,just want to show you how I do it...and how easily you can do it with just a few simple handy tools
So, this is what we are going to do today- an Upcycled Altered Coffee Tin

This is how I did it-
You'll gonna need:
Metal Tin of some sort if you can't find the one I used
Graphic 45 "Place in Time" cardstock- September Cut-Aparts 4500608
XYRON 5" Creative Station
XYRON 1.5" Sticker Maker
Ricrac Ribbon
XYRON Tape Runner
Petaloo Floral Embellishments -Darjeeling Mini Mix x 8Autumn ITEM: 1462-100
XYRON high tack 3/8" Glue Dots
Graphic 45 Steampunk Spells collection BANNERS
Petaloo Seaside Crochet Lace Fancy Trims-2.25 yds Aqua ITEM: 1482-129
Teresa Collins Thick Foam Squares (From her new Adhesive Kit )
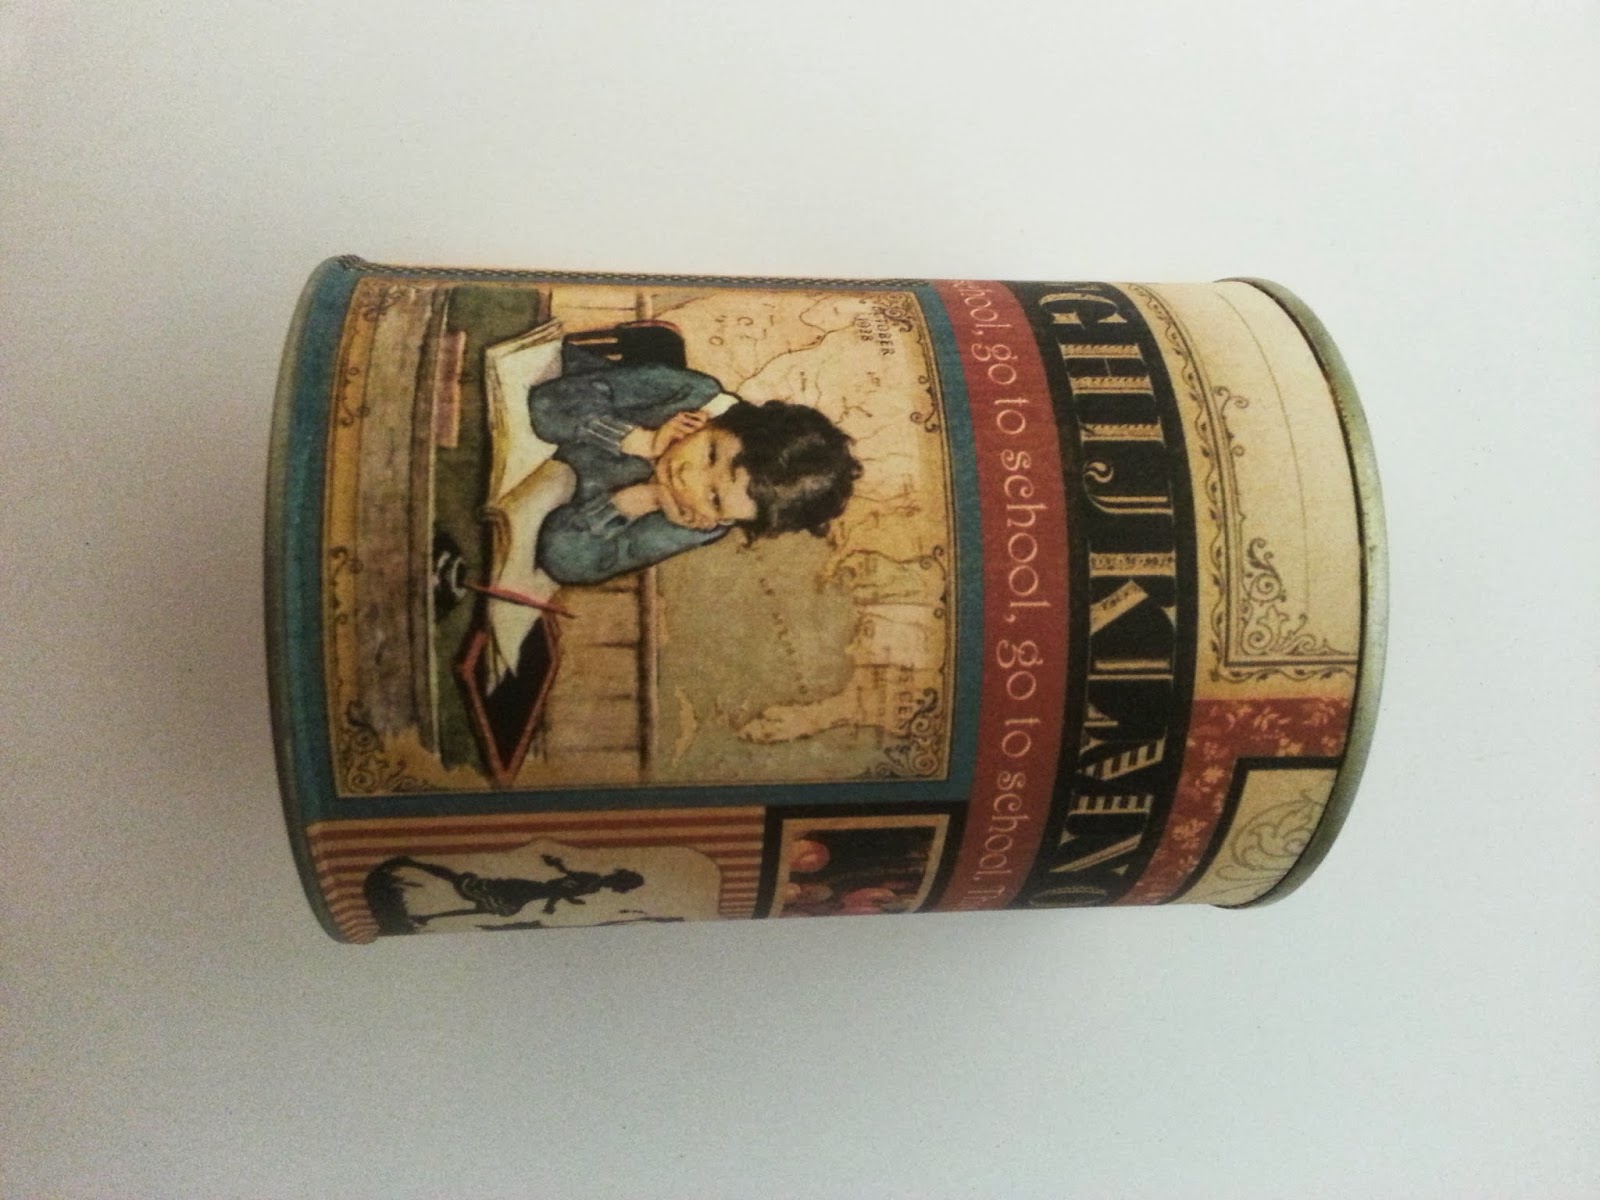
So this is my metal tin-it's an 'Elite' brand Turkish roasted coffee (I think it been sold in the US as well ;)


My tin was 10.5" wide X 4.5" tall


Wrap the cardstock around the perimeter of the tin

Look at this cute kid concentrating ...thinking what we will do to him next :D
I cut another piece of cardstock,run it through my XYRON Sticker Maker

Thank God ,I have my XYRON Adhesive Eraser ,to fix my mistake-I rub it on the glue and the magical little thing have removed all traces of glue from my now clean and ready for a second chance decoration


And here is a TIP- use the leftover paper remaining from your Sticker Maker underneath the ribbon to keep your workspace clear of glue residue while applying adhesive with your runners

Adhering the ricrac ribbon in place

Now if you're interested to know,how I decide where to put what, my rule is simple-
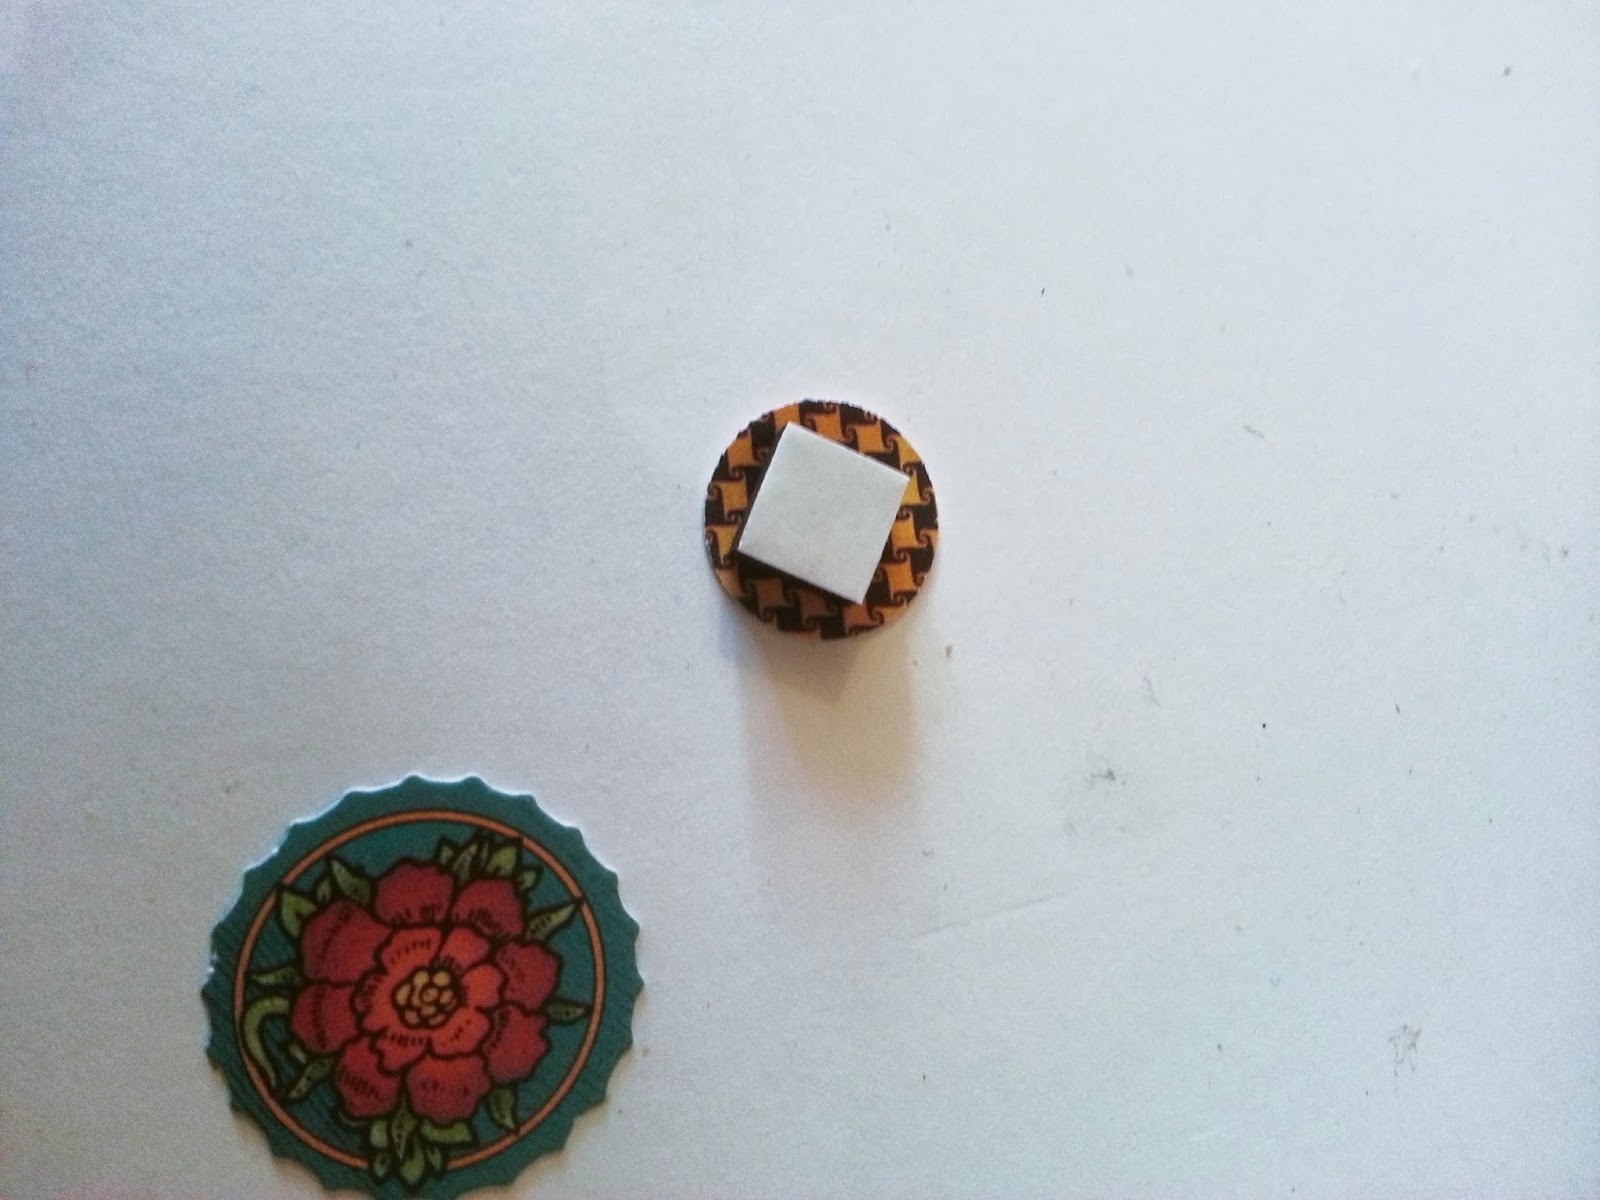
I look for 3D decorations similar in shapes and colours to my printed cardstock elements and apply the 3D shapes on top.
For example, here you see the ecru dot printed on the cardstock...I looked for a similar 3D shape from the same color family and applied it on top


Same goes for other decorations- see how the graphic above has these orange and yellow apples and green leaves...I will find some 3D shapes in the same color scheme to decorate and blend with the background underneath .
Here,I'm adding some graphic 45 banners


Time for some flowers :)
To connect my Petaloo blooms to the tin,I'm using XYRON 3/8" high tack glue dots

Using the same color palette to the printed graphic

I decided to add it because of two reasons-first,I find it funny to add watch's gear to a graphic that has calculations printed on...it's like brain slowly turning it's gear to solve a math problem :D
But more importantly, the 'Steampunk Spells' banner I used has the same gears printed design (remember, keep connecting your 3D shapes to your printed matter )

Use your 1.5" XYRON Sticker Maker to apply an even coat of adhesive to the die cuts
and glue them in place

Add some more gear decorations.
Graphic45 has gear die cuts in the 'Steampunk Spells' banner collection,same collection I took the above ^^ banners from.
To make the die pop,I used Teresa Collins Adhesive Foam Squares

Glue them in with the XYRON glue dots


And my tin is ready for use!
Since it's a metal tin,you can hang it on magnetic trails-how cool is that haa


I added some labels to mine and store dye chemicals inside .

I love this cans, are amazing!!!
ReplyDeleteMe like:)
ReplyDeleteHi Viki,
ReplyDeleteHealthline is interested in contributing a guest post to pettibearsfashionroar.blogspot.com. We would be open to contributing any blog that would be of interest to your readers. Healthline bloggers have been featured on a variety of sites including:
Washington Times: http://communities.washingtontimes.com/neighborhood/tango-mind-and-emotion/2012/aug/10/how-healthy-choices-easy/
Natural News: http://www.naturalnews.com/036515_diabetes_strawberries_prevention.html
Patch.com: http://strongsville.patch.com/blog_posts/where-and-what-to-eat-in-cleveland-to-beat-the-winter-blues
Please let me know if you have any questions. Thank you in advance for your consideration.
Warm Regards,
Tracy
Great Information sharing .. I am very happy to read this article .. thanks for giving us go through info.Fantastic nice. I appreciate this post. casualstyle
ReplyDeleteGreat post, and great website. Thanks for the information! website
ReplyDelete